How to Add Instagram Audio to CapCut and InShot
By the SaveInstAudio team · Published · 6 min read
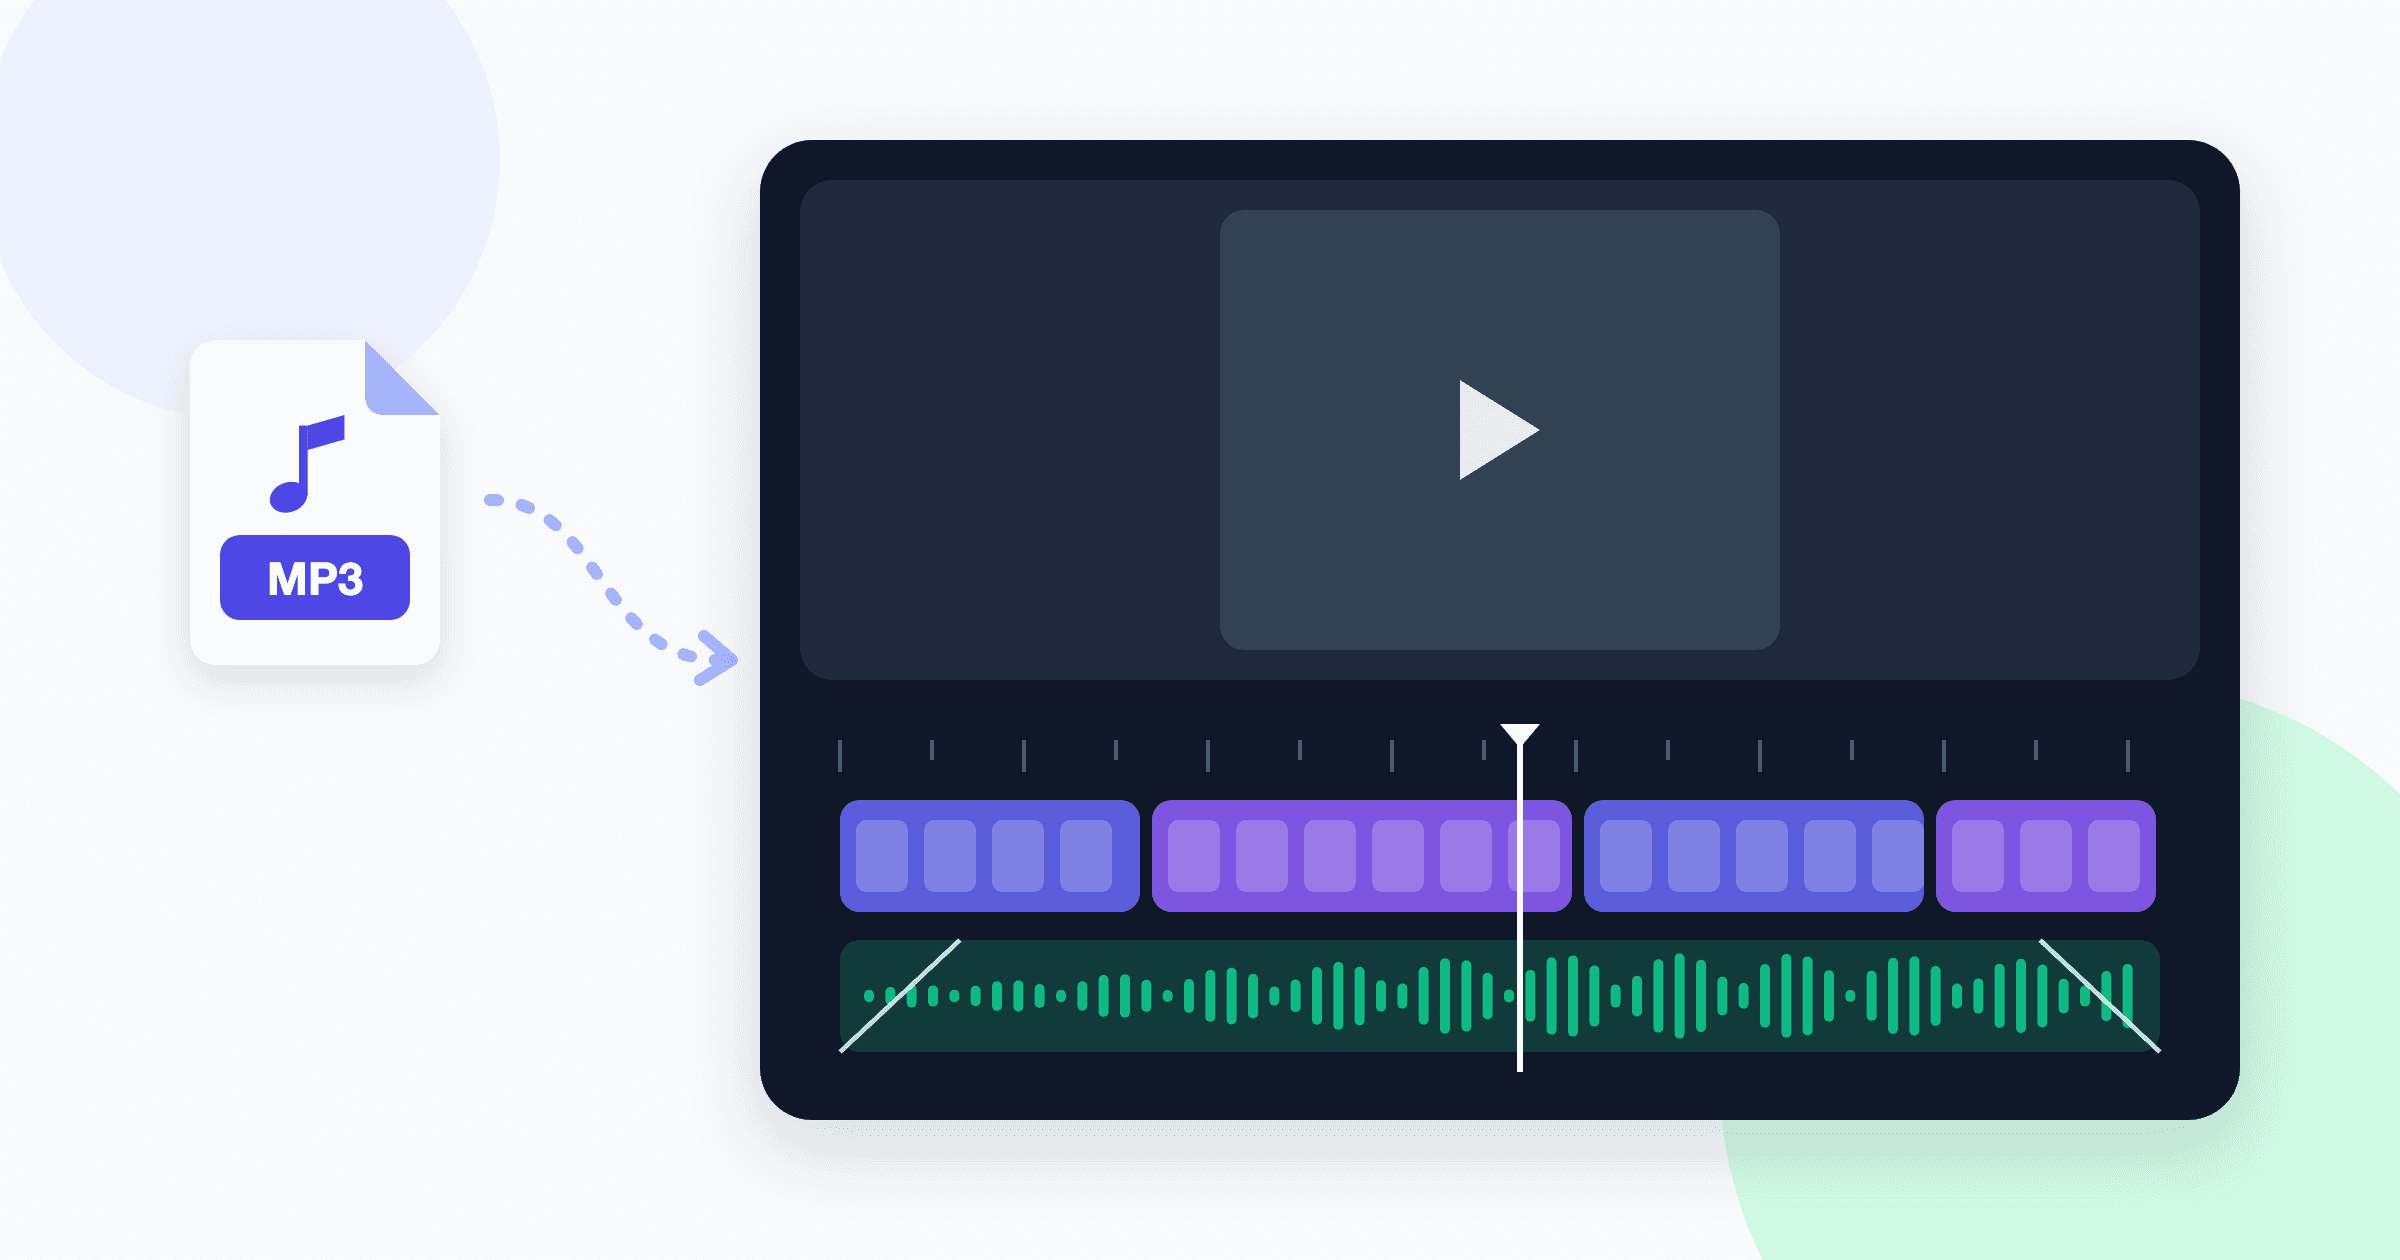
CapCut and InShot are two of the most popular mobile editors for short videos, and both handle audio well. The tricky part is getting a sound you heard on Instagram into them. Neither app can pull audio from an Instagram link, so you need the sound as a file on your phone first.
This guide covers the whole path: saving the audio as an MP3, finding where it lands on iPhone and Android, importing it into each editor, and then trimming, syncing, and mixing so the edit feels tight. Menu names in both apps shift between updates, so the steps below describe what to look for rather than exact button labels.
Step 1: Save the Instagram audio as an MP3
SaveInstAudio turns the audio of a public Reel, video post, or Story into an MP3 without an app or an Instagram login.
- In Instagram, open the Reel, tap the share icon, and choose the option to copy the link.
- Open saveinstaudio.com in your phone's browser and paste the link.
- Tap the button to convert, then download the MP3.
For Reels specifically, the Instagram Reels to MP3 converter page walks through the same flow. A few things to know up front:
- Only public posts work. Private accounts aren't supported.
- You get the audio exactly as it plays in that post, not the full-length song.
- Quality matches what Instagram stored. The file is encoded as a high-quality variable bitrate MP3, and there's no bitrate picker because there's nothing extra to gain. If you're curious why, our explainer on audio formats and bitrates goes deeper.
- Files are removed from the server after about 15 minutes, so download soon after converting.
Step 2: Find the file on your phone
This is where most people get stuck. The MP3 downloaded fine, but the editor can't see it.
On iPhone
Safari saves downloads to the Files app, typically in a Downloads folder under iCloud Drive or On My iPhone, depending on your settings. Open Files, tap Browse, and look for Downloads. If you use another browser, check that browser's own downloads list, which usually has an option to open or share the file to Files.
Tip: long-press the MP3 in Files and rename it to something clear like "beach-reel-sound.mp3". It makes the file much easier to spot inside the editor's picker.
On Android
Most browsers save to the Download folder in internal storage. You can reach it through the Files app, sometimes called Files by Google or My Files depending on your phone. Some phones also surface MP3s in a music or audio category, which is handy because both editors can browse device audio that way.
If the file doesn't show up in an editor, check that the app has permission to access your files or media in your phone's settings.
Step 3: Import into CapCut
CapCut keeps audio options in its bottom toolbar once you're in a project.
- Create a new project and add your video clips or photos.
- Tap the audio option in the bottom toolbar, then look for something like Sounds or Music.
- In the sound library, find a tab or icon for your device or files. It's often labeled along the lines of "From device" or shows a folder icon.
- On iPhone, choose to import from Files, then browse to your Downloads folder. On Android, pick the MP3 from device storage.
- Tap the plus or use button to drop it onto the timeline.
CapCut also has an extract option that pulls audio out of a video saved on your phone. You don't need it here since you already have an MP3, but it's useful for your own footage.
Step 4: Import into InShot
InShot's flow is similar, with slightly different naming.
- Start a new video and select your clips.
- Tap the music option in the toolbar, then look for tracks or a music library.
- Find the tab for your own music or imported files. On iPhone there's usually an option to import from Files. On Android you can browse device audio directly.
- Select the MP3, then tap use to place it on the timeline.
If the file doesn't appear on iPhone, re-open the Files picker and check both iCloud Drive and On My iPhone. The download location isn't always where you expect.
Step 5: Trim, sync, and mix
Getting the audio in is half the job. The other half is making it feel intentional.
Trim to the part that matters
Most trending sounds have one moment that carries the whole Reel: a drop, a punchline, or a lyric. Tap the audio track on the timeline and drag its edges to cut the intro or outro. Then slide the whole track so the key moment lines up with your strongest shot.
Sync cuts to the beat
Both apps offer beat help. In CapCut, select the audio and look for a beats or auto-beat option that places markers on the timeline. InShot has a similar beat or marker feature in its music editing tools, and you can add markers manually by tapping as the track plays. Then trim your clips so each cut lands on a marker. Even syncing just the first three or four cuts makes an edit feel much tighter.
Set volume and fades
- Volume: Select the audio and use the volume slider. If you're keeping sound from your original clips, lower the clip volume so it doesn't clash.
- Fades: Add a short fade-in and fade-out, a second or less, so the audio doesn't start or stop abruptly. Both apps put fade controls in the audio editing menu.
Mix in a voiceover
If you're talking over the track, record your voiceover using the app's record or voiceover tool, which usually sits alongside the music options. Then drop the music to roughly 15 to 30 percent volume while you speak, and bring it back up in the gaps. CapCut can sometimes lower background audio automatically when it detects speech, and in either app you can split the music track and set different volumes for each section by hand.
Step 6: Export with sensible settings
- Resolution: 1080p is plenty for Reels. Higher settings make bigger files without a visible difference on most phones.
- Frame rate: Match your footage, usually 30fps.
- Aspect ratio: Set 9:16 before you start editing, not at the end, so nothing gets cropped awkwardly.
- Watermark: Check whether the app adds an end card or watermark and remove it in settings if you can. A branded outro can make a Reel feel less native.
Play the export once on your phone before posting to confirm the audio is in sync and not clipping.
A note on copyright before you post
Downloading a sound for editing, practice, or drafts is one thing. Publishing a video with that audio baked in is another. Most trending tracks are copyrighted, and Instagram may mute, limit, or remove videos that use music it detects without a license.
The safer approach is to use your MP3 to build and time the edit, then, when you upload, pick the same sound from Instagram's audio library and line it up there. Instagram's licensed library gives the artist credit and generally avoids muting. If you plan to post the video elsewhere, or use a sound in something commercial, read our copyright basics for reusing Instagram sounds first.